


So I had a great girls weekend! It was so much fun!
Today I have Chrissy over here on my blog showing you how to make this super cute easy necklace.... Enjoy!
Take it away Chrissy...
Why Hello there new friends!
I am very honored to be guest blogging for Dominique today.
She has mad skillz herself so I love being in the home
of a crafting queen!
Let me introduce myself!
My name is { Chrissy }


I have had my blog for about 5 years now.
It started as just updates on the kids and I kind of took it over
for myself and all of my readers!
selfish I think not!!!
I am a stay at home mom to 3 little ones....ages 10, 5, and 2!
Thing I love:
beaches. blogging. crafting. DIY projects. Jesus. decorating. craft shows. playing outside. entertaining. baking. family. dancing. laughing until I snort { yes it happens, a little too often }. chocolate
To get to know me a little better head over { here }
Today I want to show you how to make a simple
yet couture necklace

Supplies needed:
felt or felted wool
beads
needle and thread
scissors
ribbon or lace
hot glue gun
lighter or candle
{optional}
metal clasps
necklace chain
pliers

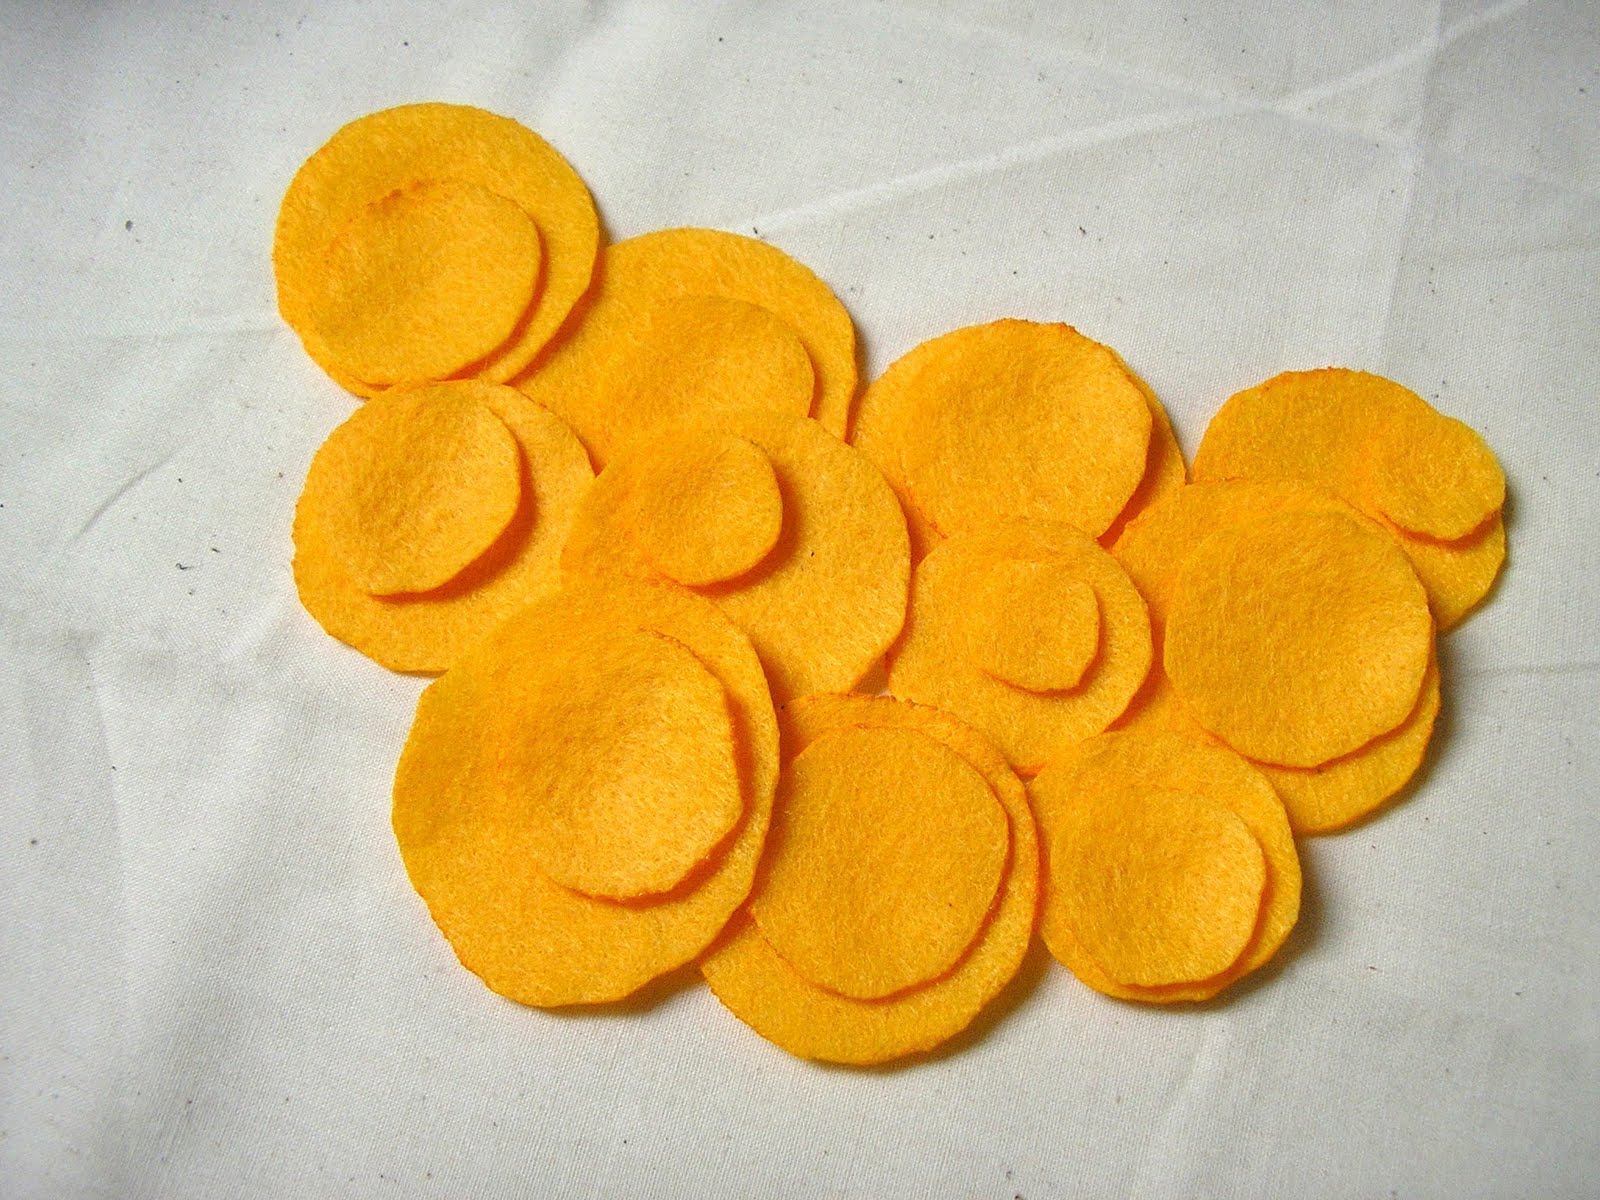
Start by cutting your felt into varying size circles.
perfection is not needed here folks...

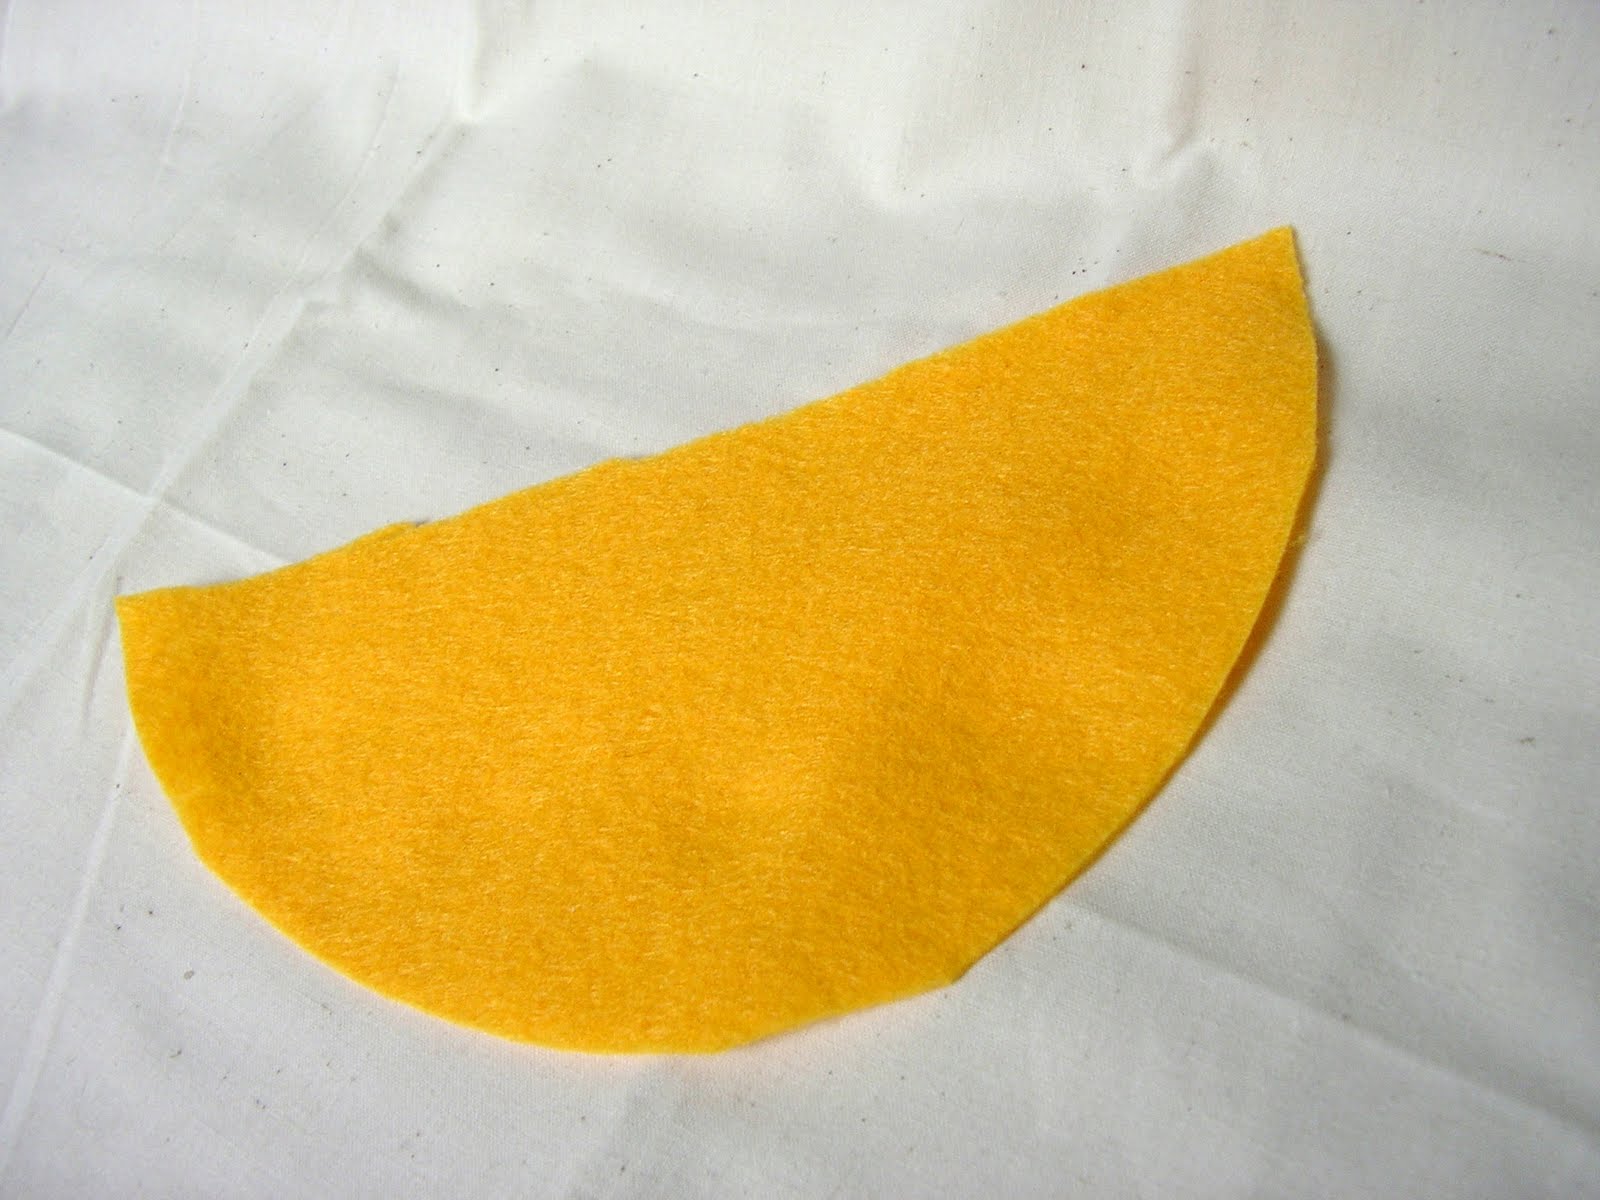
Also cut out a base for your bib.
This does not have to be exact as you will trim away the access in the end.
Using a lighter or candle lightly melt the edges of the felt circles.
you are just trying to singe them not burn them to pieces.
just in case!

Look at all those pretty singed circles...

Now comes the fun part.
At least it should be fun but I over think things way too much.
Is it too uniformed? Is it too obscure? too large? too wide?
really just go with your gut and it will turn out great!

Once you think you have a general idea on how you want them laid out
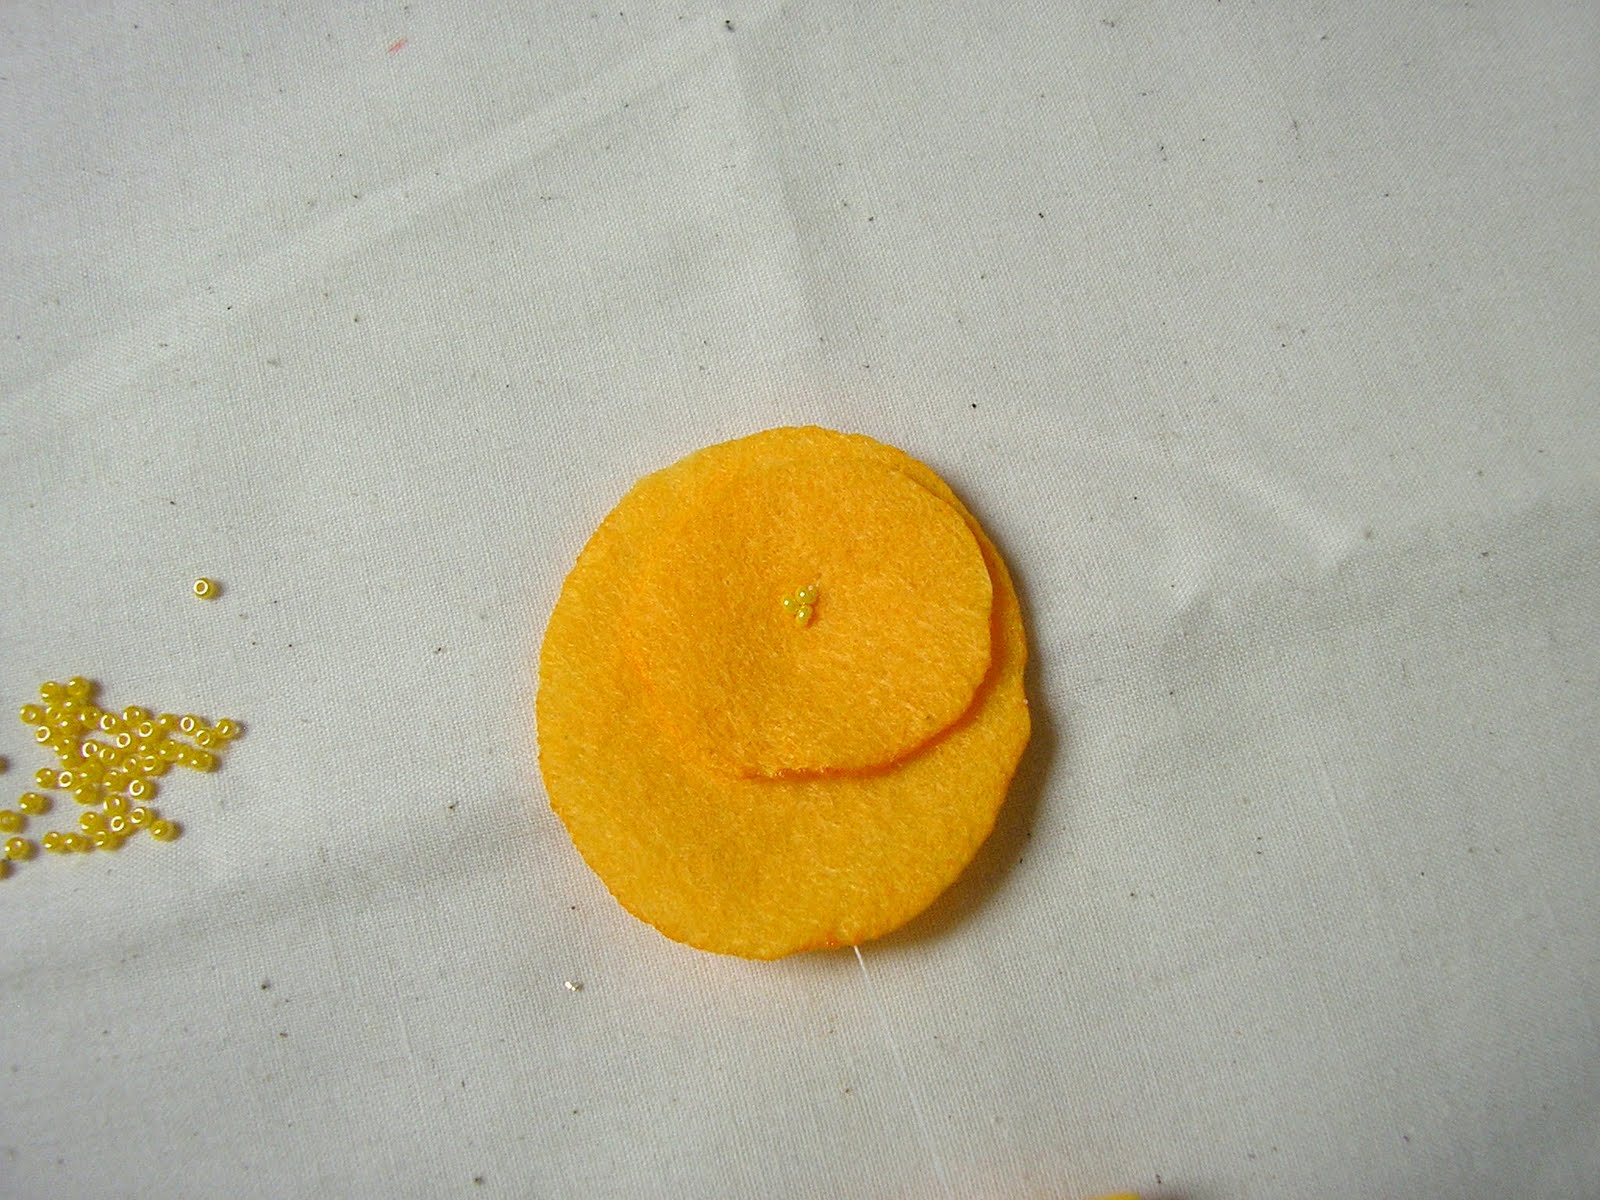
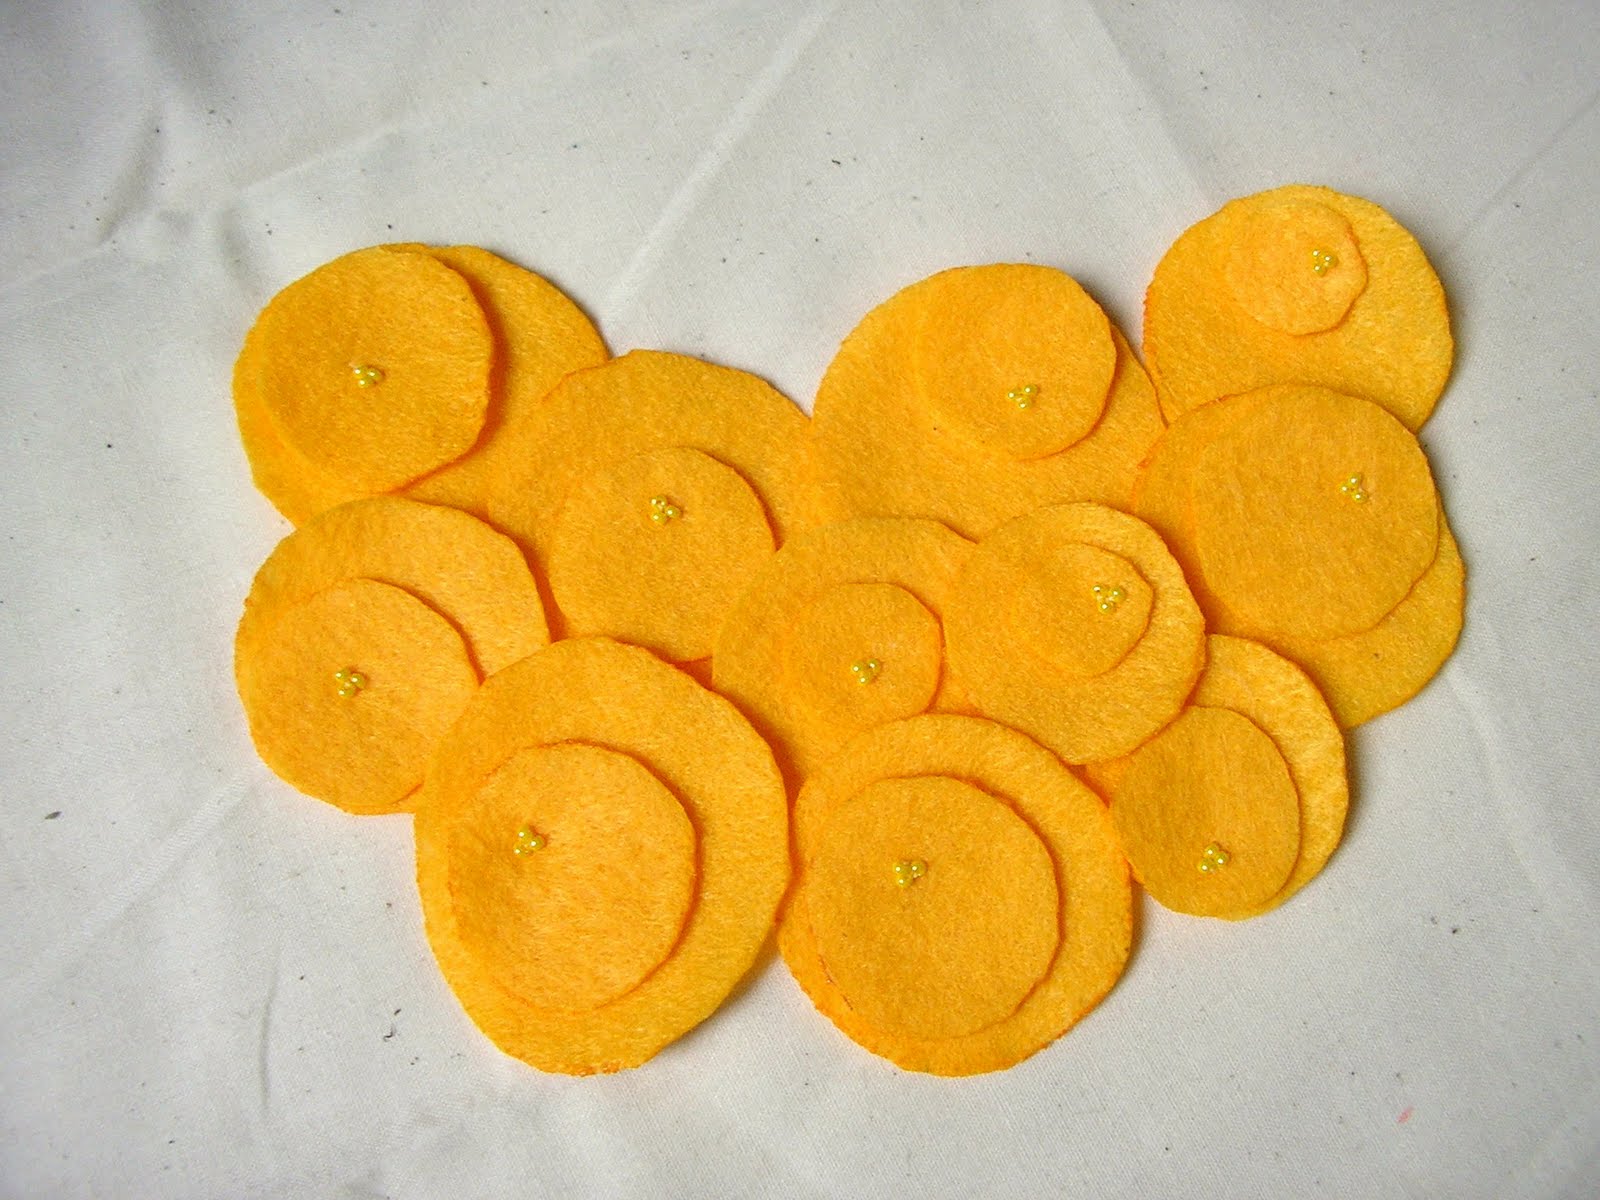
grab your needle and thread and sew a few beads in the centers of the layered circles.
This is what will hold them together.
I sewed and knotted each "set" individually.
Next you will start hot gluing them to your bib base. (not pictured)
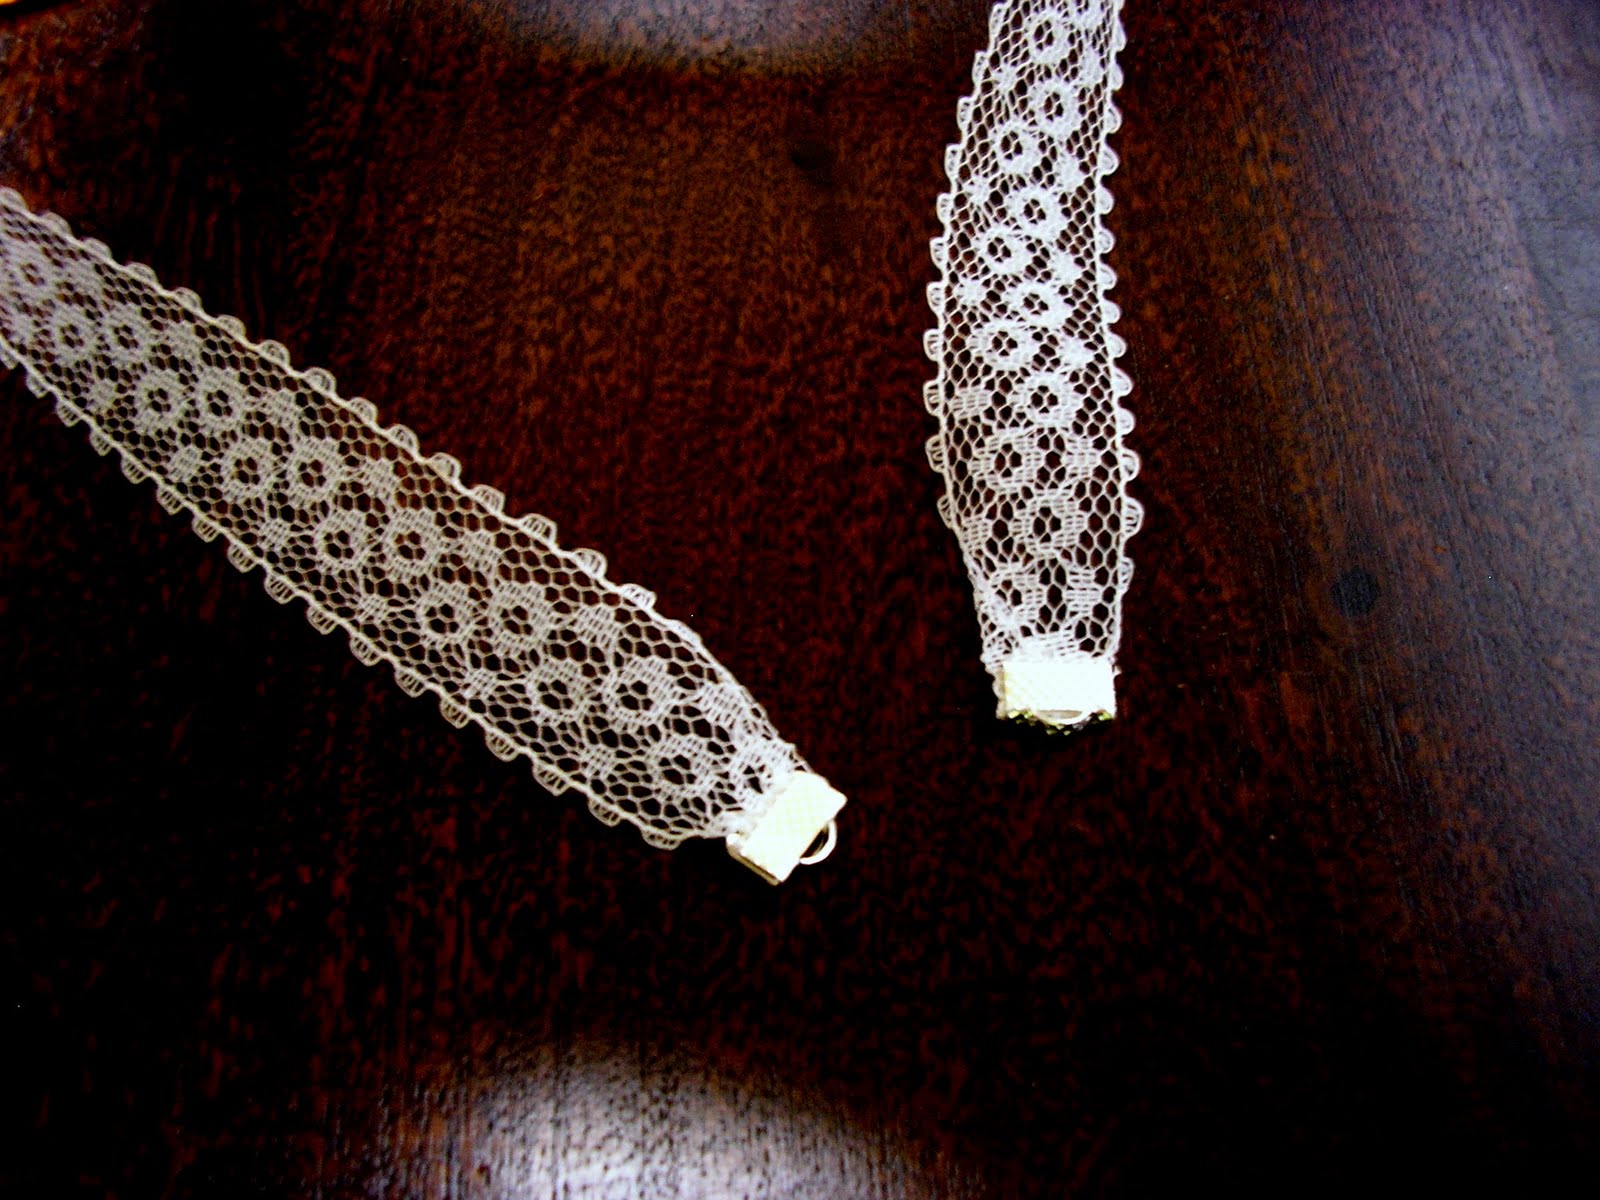
Make sure you don't forget to add your ribbon/lace/chain between the base on the top right and left circles...
I like the look of having more dimension so I only added glue to the center of the sets so that they can flip up a little.
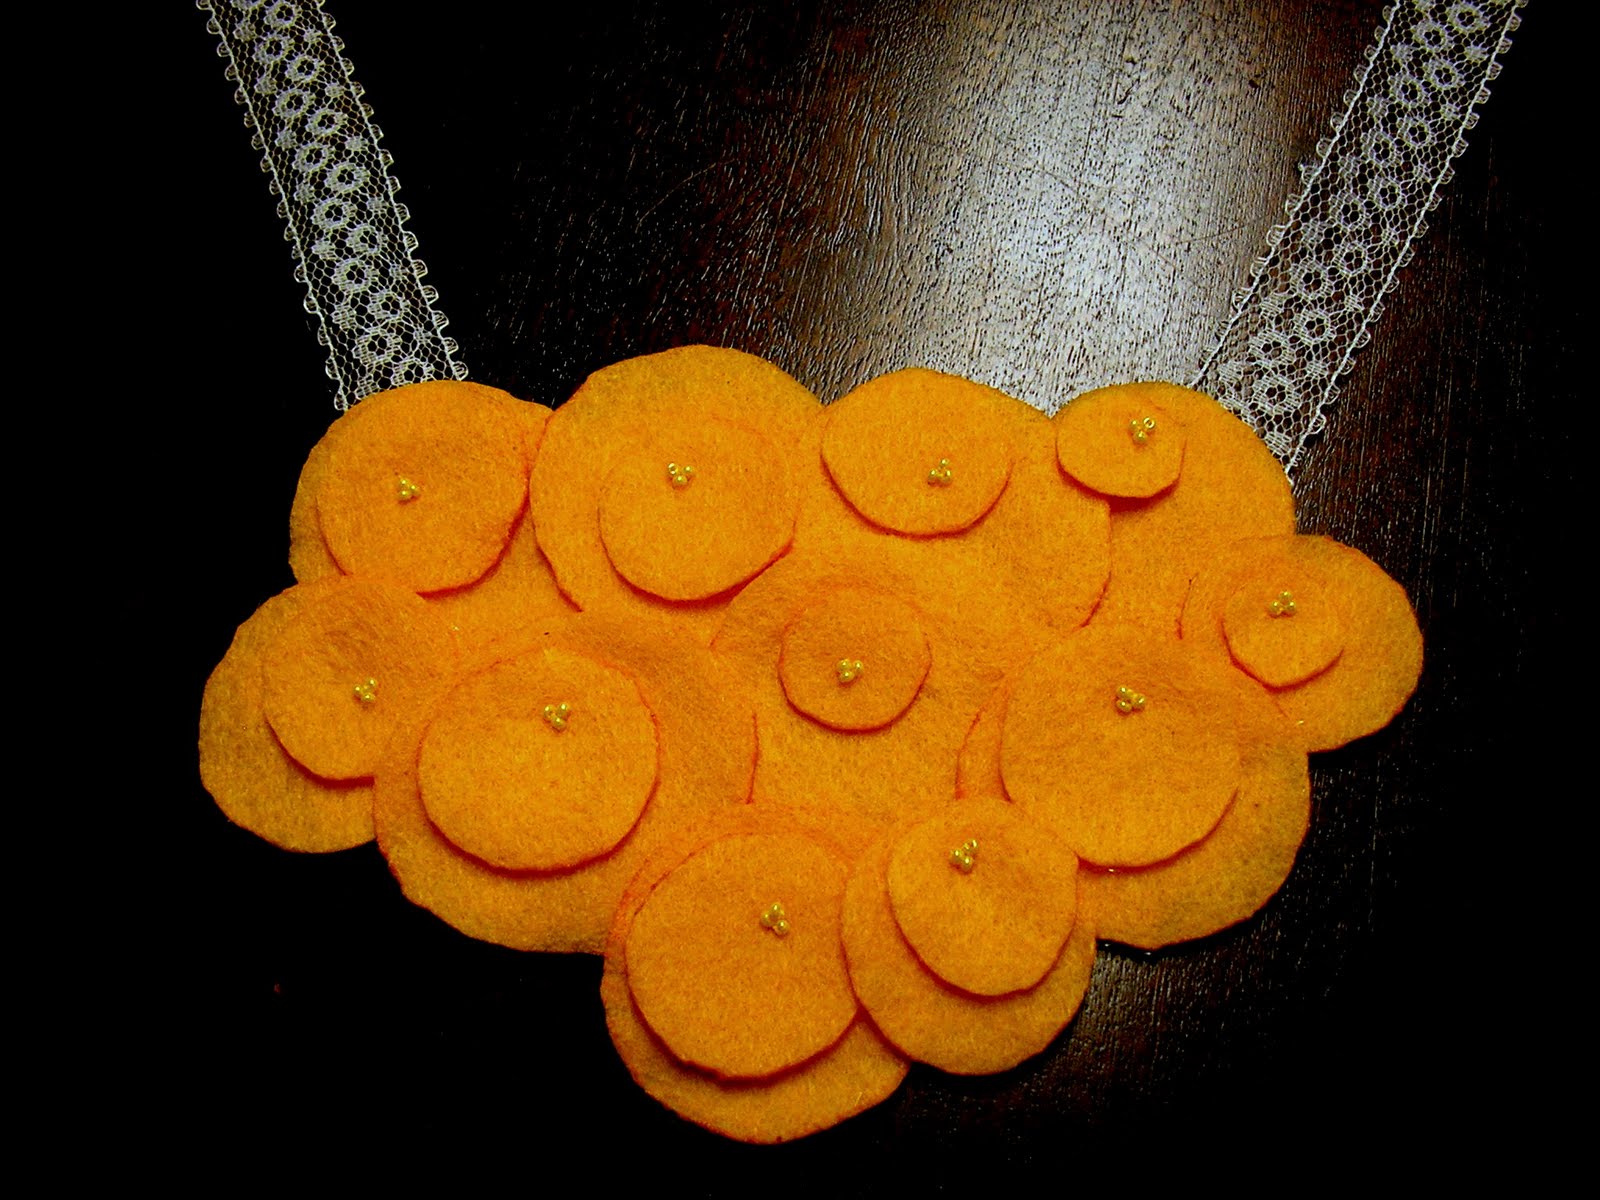
Once they are all glued on trim away the extra from the base .

You could be finished here and just tie your strings in a knot or bow.
I chose to add little clasps and a beaded chain to mine.
Now how easy was that!
thanks for following along with me today!
Don't forget to visit me on my blog Boerman Ramblings
Thank you Chrissy for that wonderful tutorial, Make sure you all go check out her blog it's wonderful!

No comments:
Post a Comment
I love your comments :). I respond back to questions either through email or if you do not have your email linked I will answer here or with a comment on your blog :).